25 Jul Yerba Mate 101: Must-Have Tools and Brewing Techniques
Yerba Mate, often referred to as “the drink of the gods”, holds a special place in the hearts of South Americans. With its rich cultural history and a growing global fan base, this energising tea has become a beloved beverage enjoyed by people worldwide.
To truly savour the authentic experience, understanding the essential tools and mastering pro brewing techniques is crucial. In this comprehensive guide, we will delve into the world of Yerba Mate, uncovering the secrets of crafting the perfect cup that will leave you enchanted with every sip.
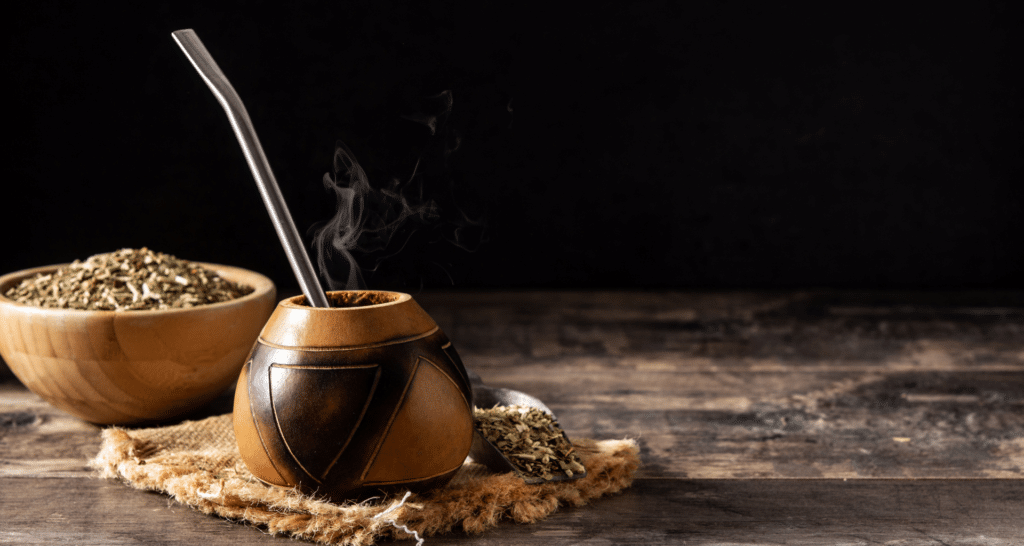
Yerba Mate: A Cultural Icon
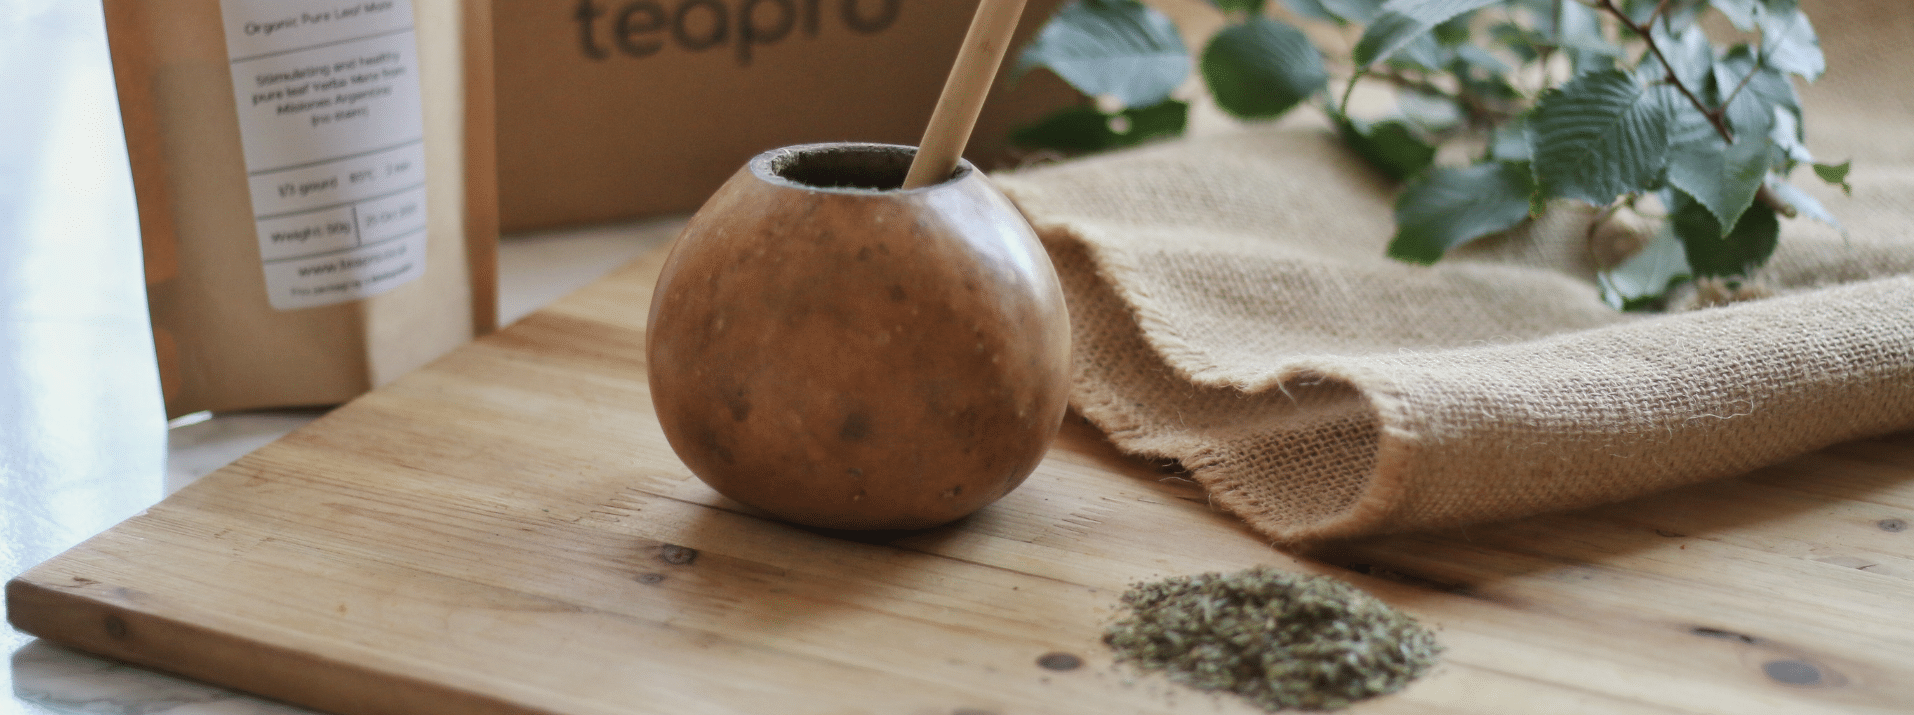
For centuries, Yerba Mate has been more than just a drink – it’s a symbol of friendship, community, and sharing. In countries like Argentina, Uruguay, and Paraguay, it’s a common sight to see friends and family gathered around a circle, passing a gourd (mate) filled with Yerba Mate, taking turns to enjoy the infusion through a bombilla (straw).
Traditionally, only one person, the “cebador”, does all the pouring for the group. This person will refill the gourd with water for each person in turn until the hot water runs out or the herb runs out of flavour, then replace them as needed. This age-old tradition has woven its way into the fabric of daily life, creating cherished memories and a deep sense of belonging.
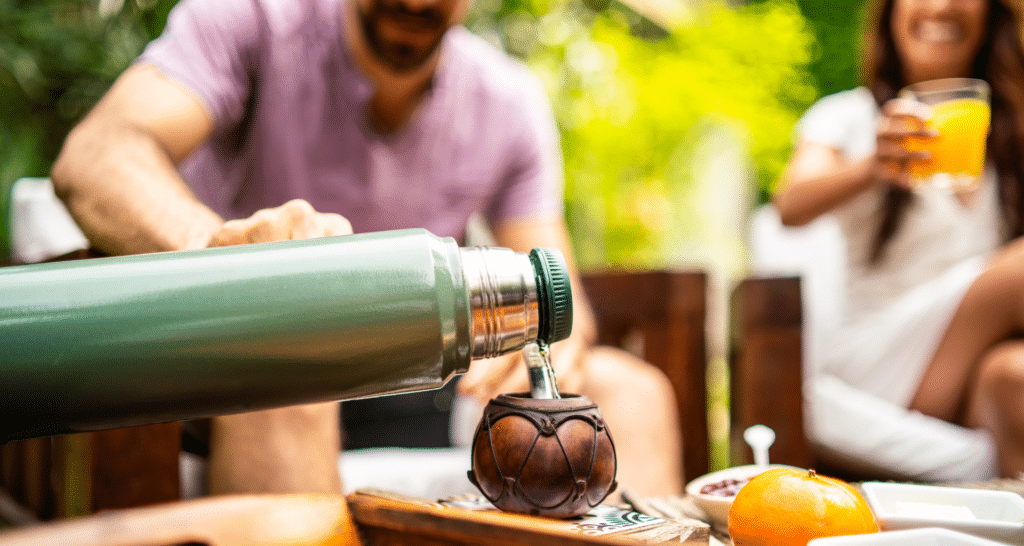
Much as Yerba Mate is a delightful hobby with a myriad of unique accessories that add charm to the experience, its variety of tools may seem intimidating to a first-timer, including us in the beginning.
Different places around the world enjoy Yerba Mate uniquely, employing a diverse array of tools and techniques, reflecting their cultural traditions and preferences. You can find out more about the different cultures of Yerba Mate here.
However, don’t let all the different accessories overwhelm you because you can start drinking mate traditionally with just a few essentials. In this guide, we’ll explore the must-have accessories for beginners and optional ones for seasoned materos, elevating your Yerba Mate lifestyle to a whole new level of excitement!
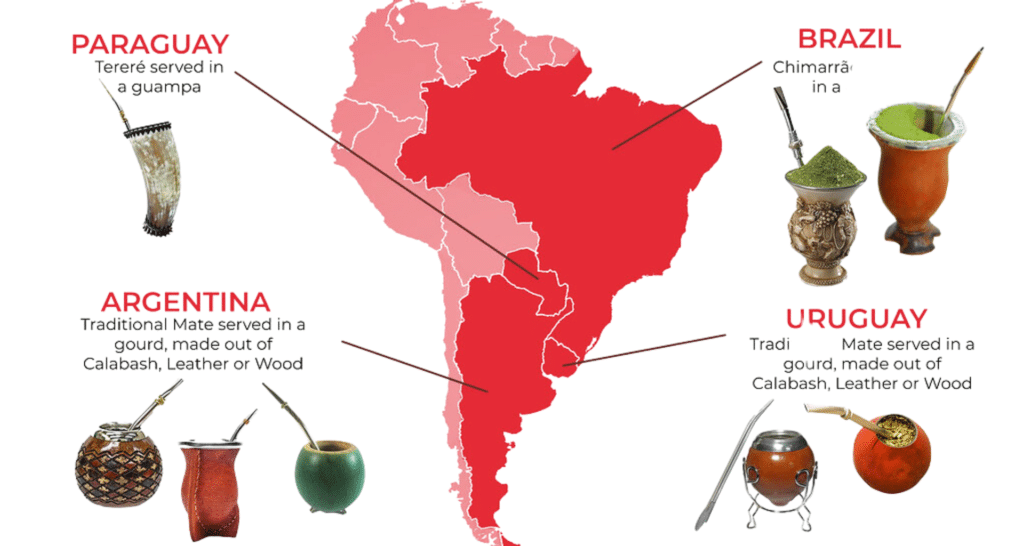
Tools for Yerba Mate
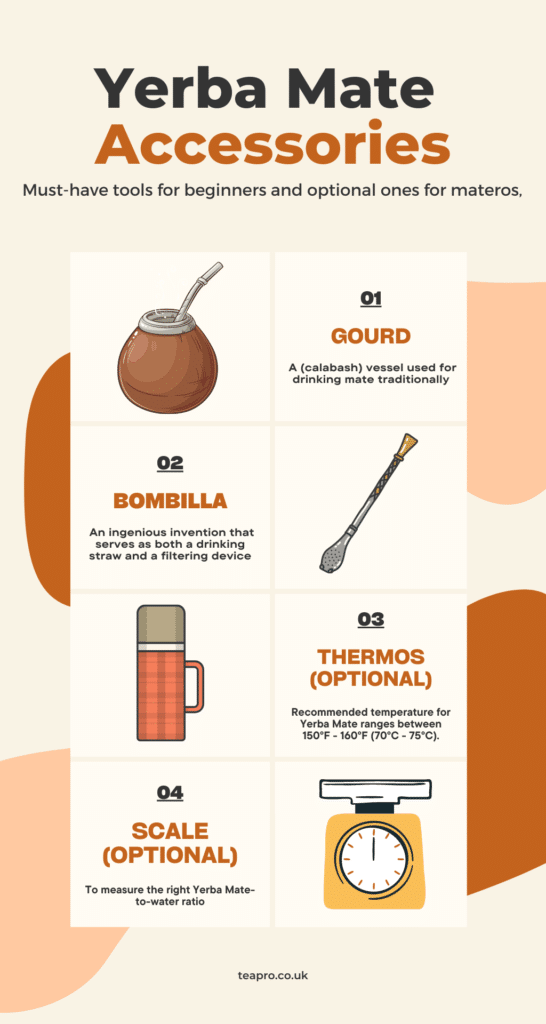
1. Gourd
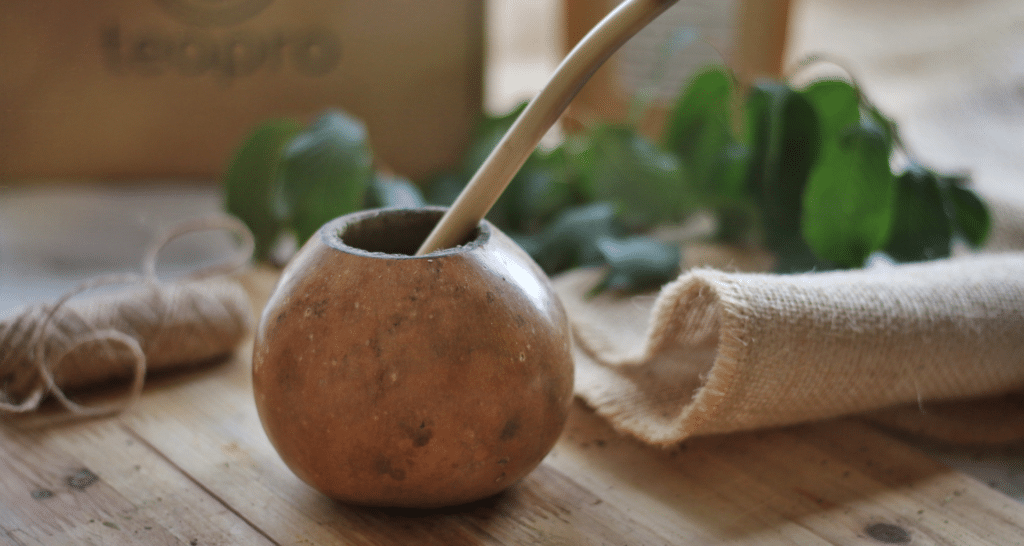
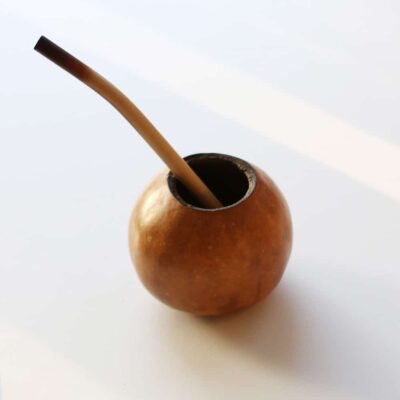
A gourd is a vessel used for drinking mate traditionally. Usually it is made from a real dried calabash gourd, or calabaza in Spanish, hence the name. Today the term gourd is used not only to describe a calabash vessel, but any other cup from which mate is being drank (wooden, metal, ceramic, etc.).
The choice of a gourd can significantly impact the taste and aroma of your Yerba Mate. Each material infuses its distinct essence into the brew, offering a range of flavours to explore. Additionally, consider the gourd’s size, shape, and craftsmanship, as they influence the heat retention and overall brewing experience.
2. Bombilla/Bambilla (Straw)
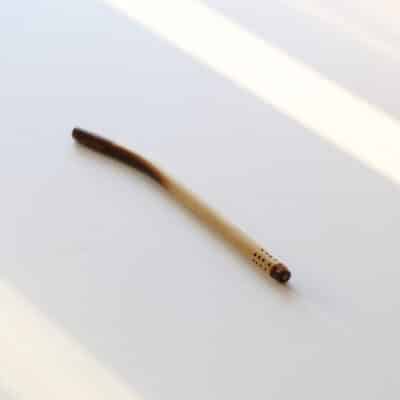
Bombilla (or Bambilla) is an ingenious invention that serves as both a drinking straw and a filtering device. It prevents Yerba Mate leaves from entering your mouth while allowing the flavourful infusion to pass through.
There are various types of bombillas, each with unique designs that cater to individual preferences. From slotted to spiral straws, you can choose the one that best suits your sipping style.
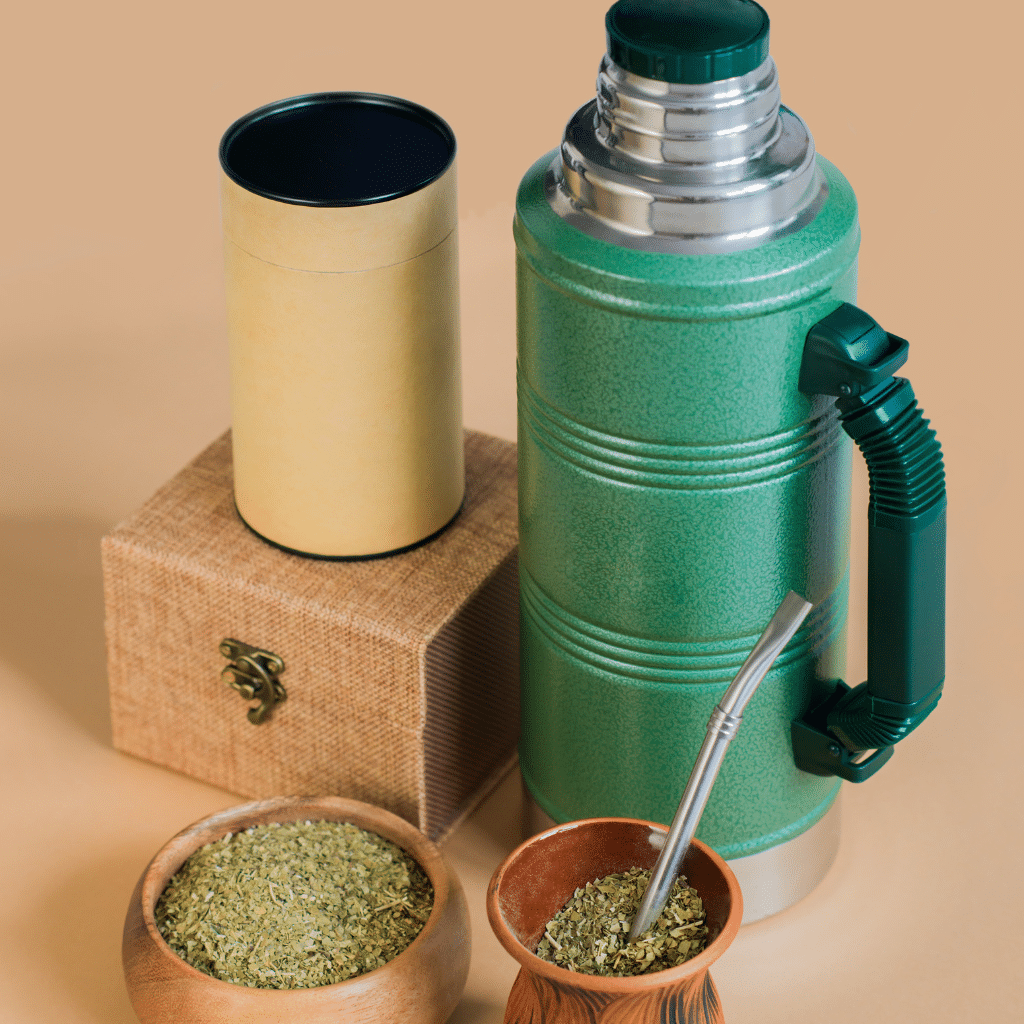
3. Thermos (Optional)
A thermos, or vacuum flask, is an indispensable companion for enthusiastic yerba mate drinkers. While you could simply refill your mate directly from the kettle, constantly reheating water or making multiple trips to the fridge for ice-cold water can be quite a pain. With your thermos, you can take your mate anywhere, whether it is to another room, another place, or even country!
A simple thermos would do, but if you’re a big mate drinker, there are also certain vacuum flasks that are preferred by and designed for mate enthusiasts with a precision spout. Although this tool isn’t technically a must-have, we highly recommend investing in one, it will save you a lot of hassle.
4. Scale (Optional)
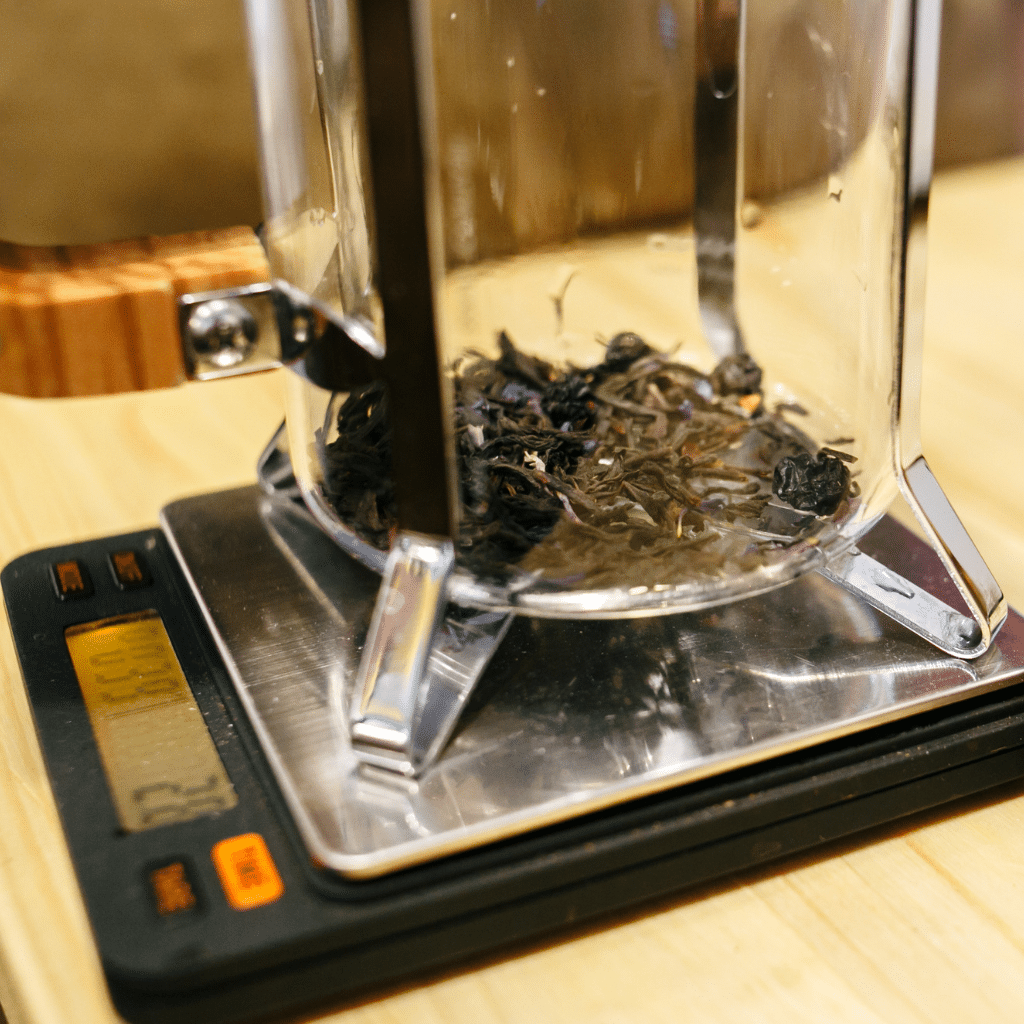
While precision may not be an ancient requirement, modern brewing practices benefit from using a scale to measure the right Yerba Mate-to-water ratio. This ensures consistency in each cup and allows you to experiment with various proportions, discovering your ideal taste profile.
Curing The Gourd For First-Timers
Before making your first mate, if you have a calabash gourd, there is a crucial step that you need to do. This process is curing, which is to eliminate the soft membrane found inside new gourds, which could otherwise impart a bitter taste to your mate.
Usually, there are two different ways people cure their gourd. The traditional curing requires you to fill your gourd with Yerba Mate and wait for at least 24 hours for up to 3 times. In contrast, the modern approach, aiming to save time, simply requires filling the gourd with hot water and waiting for about 20 minutes.
However, we have come up with a middle ground when curing our gourds. Please find the instructions below:
Step 1: Fill the gourd with 1/3 Yerba Mate and pour in hot water (not boiling).
Step 2: Leave it for 2-3 hours so the soft tissue can loosen and the flavour can infuse.
Step 3: Use a spoon to carefully scrape the gourd’s inner walls to remove the membrane.
Step 4: Rinse the gourd under warm water to remove any remaining tissue.
Step 5: Pat the insides with a paper towel to soak up as much water as possible.
Step 6: Place your gourd (on it’s side) in a dry, bright, cool spot to dry. To speed up the drying process, use a hairdryer set to a low heat. Be cautious not to use too much heat to avoid damaging the gourd.
WARNING
1. Don’t remove the small stem in the middle of the calabash gourd or your gourd will leak.
2. Never wash your gourd with soap or dish washing liquid – you won’t be able to get rid of the soapy taste.
Mastering Pro Brewing Techniques
Traditional vs. Modern Methods:
There are 2 methods of making a cup of Yerba Mate: brewing Yerba Mate in the gourd or an infusing like other tea types.
Traditionalists may find a deeper connection to the tea’s cultural roots by using calabash gourds and bombillas. Modern enthusiasts, on the other hand, might appreciate the convenience and versatility of loose leaf tea infusers. So it totally depends on you if you want to opt for the conventional method for a cultural experience or the convenience of the modern!

Traditional Brewing Guide
To brew the perfect cup of Yerba Mate, follow these simple steps:
Step 1: Cured the gourd if this is your first time making Yerba Mate.
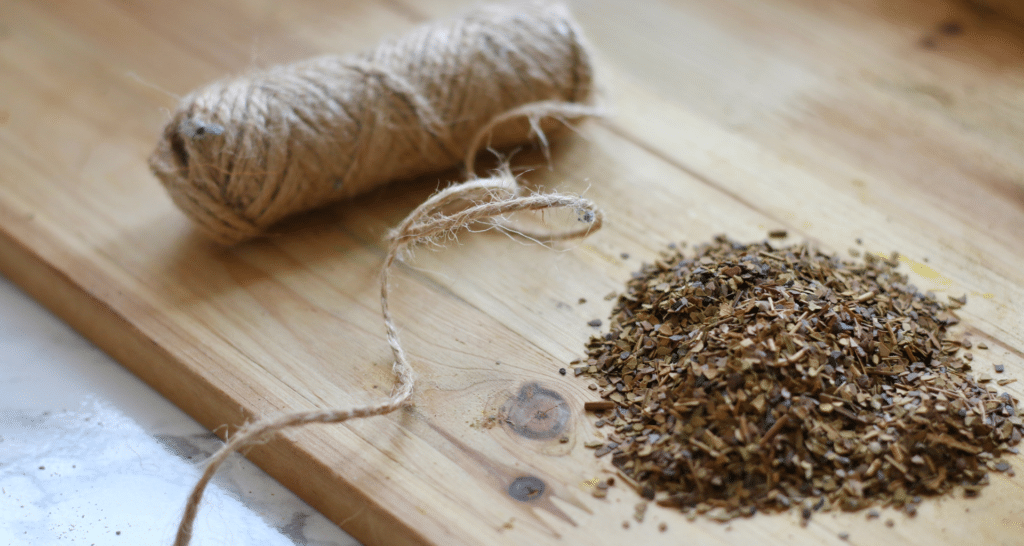
Step 2: Fill the cured gourd around two-thirds full with Yerba Mate loose leaves.
Step 3: Tilt the gourd to one side, allowing the leaves to gather on the opposite end to create a pit.
Step 4: Moisten the pit with a splash of cool water.
Step 5: Gently insert the bombilla into the gourd. Ensure that it’s not touching the bottom.
Step 6: Slowly pour the hot (not boiling) water into the empty space, wetting the leaves.
Now you are ready to pour sips for the friends in your yerba mate circle. Each person receives a half-full gourd, which they are encouraged to finish (taking just one sip is considered impolite). Once “empty” they pass the gourd back to the pourer for refilling.
Avoid touching the straw!
Stirring makes all the herb steep at once, and it can also make the straw clog. One of the cebador’s most difficult jobs is to gracefully discourage newcomers to the Yerba Mate circle from touching the straw.
Why Your Yerba Mate is too bitter
When we first tried making Yerba Mate, we were surprised by its overwhelming bitterness. How could this be South America’s favourite drink?
So if you ever find yourself in this position, don’t be let down just yet. The bitterness of Yerba Mate is generally due to our lack of experience in the preparation process. If your Yerba Mate tastes excessively bitter, you might be making one of these common mistakes:
1. Using boiling hot water and scorching the leaves.
To avoid this, make sure that you add a splash of cold water first and then fill it up with hot (not boiling) water.
2. Letting your mate steep too long.
The tradition of starting to drink your mate right away is not a coincidence. The longer the yerba mate steeps, the more bitter it becomes!
3. Soaking ALL the leaves in the gourd.
Be careful not to make this big mistake. While you fill your gourd about two-thirds with mate, only a small part of it should get wet. Otherwise, if all the leaves steep, it will lead to an excessively bitter mate.
4. Moving your bombilla around.
“What’s wrong with moving my straw around?” As silly as this might sound, moving your bombilla around too much can soak all the leaves in your gourd! This will result in a bitter-tasting mate.

Yerba Mate is not merely a beverage; it embodies a rich cultural tradition and a unique social experience cherished by the people of South America and beyond.
Our ultimate guide covers the essential tools and brewing techniques to help you embark on a delightful Yerba Mate journey. From the traditional method of using a mate gourd and bombilla to the modern convenient approaches like Yerba Mate tea bags, there’s a method to suit every preference.
So, gather your tools, choose your method, and immerse yourself in the world of Yerba Mate – a journey that promises flavor, warmth, and a connection to a vibrant and diverse heritage!

A cup of butterfly pea tea a day keeps the doctor away. Communication and Media Student. I cook, dance, travel and watch a lot of films and musicals.
- November 12, 2023
- November 9, 2023
- October 18, 2023



No Comments