

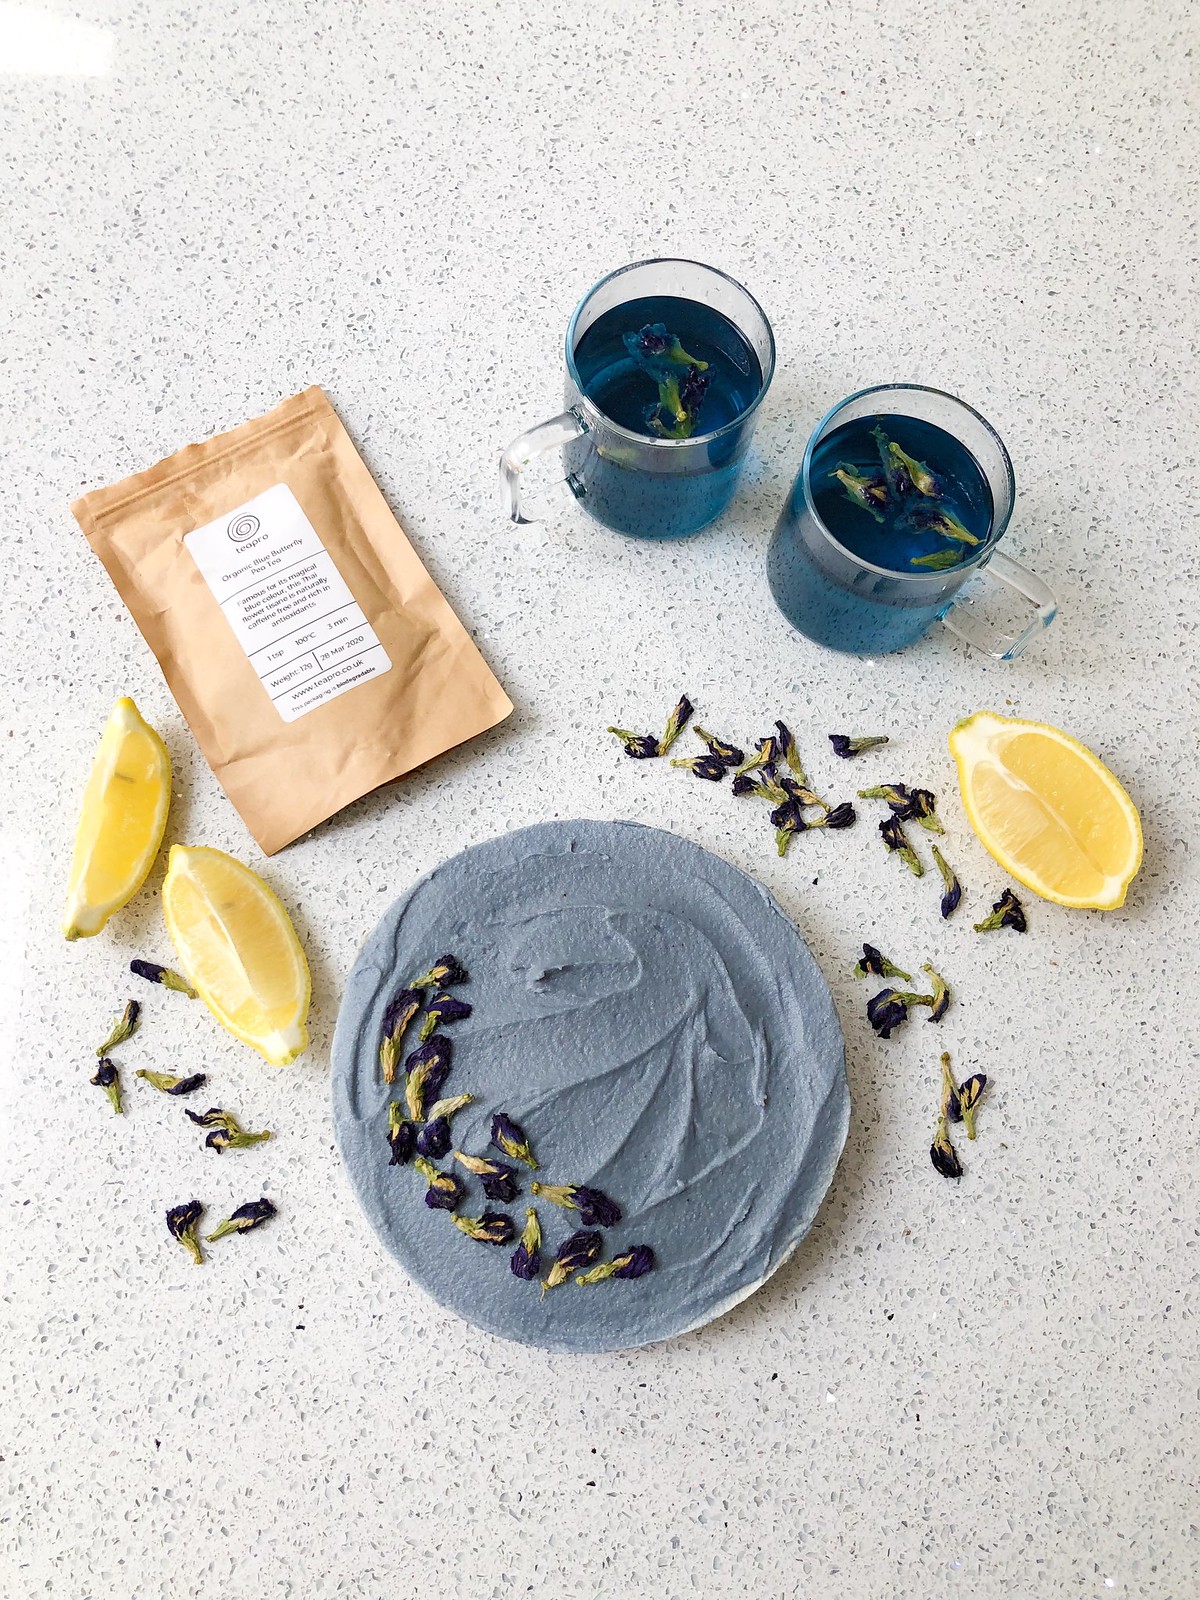
06 Nov Vegan Butterfly Pea Blue Cheesecake
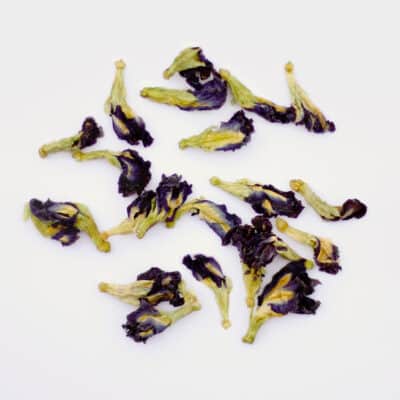
If I told you this cheesecake was ice-cream-like, dairy, gluten and refined sugar free AND contained no artificial colourings, would you believe me!? Well, all you need to create this beautiful blue is butterfly pea tea, which is caffeine free and rich in antioxidants!
I love how captivating colour can be – especially in food; it completely changes your perception of what you’re eating. I’ve played around with several tea-infused recipes before such as earl grey, or green matcha, but when I was given the opportunity to experiment with this blue butterfly pea tea, I was so excited to see what I could create – it’s not often that you see such deep blue hues in foods!!
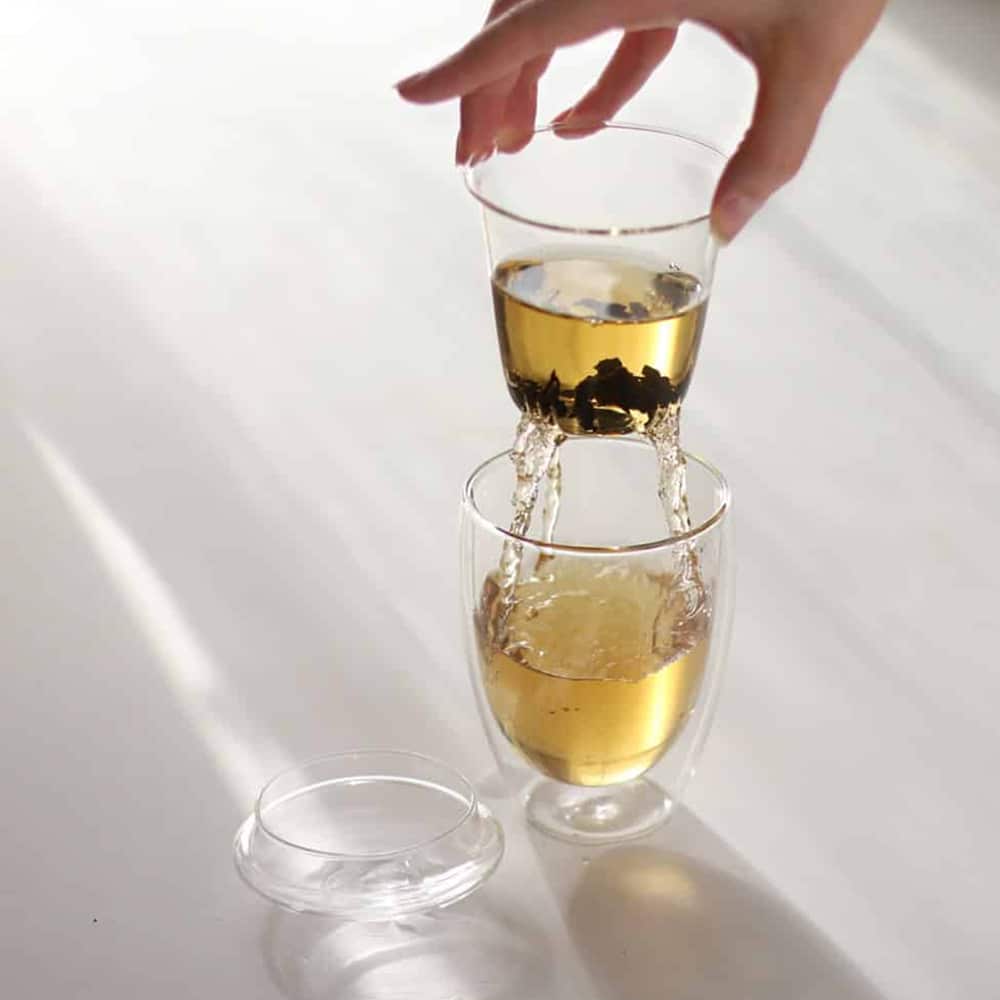
I tried this a few different ways, but found that the best way to absorb the colouring was by using almond milk. It’s actually super easy to make and goes perfectly with a cup of butterfly pea tea, either on its own 0r with a squeeze of lemon!

Vegan Butterfly Pea Tea Blue Cheesecake
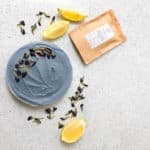
This vegan ice-cream like cheesecake doesn’t only wow with it’s (100% natural) blue colour, but is also finger-licking yummy!
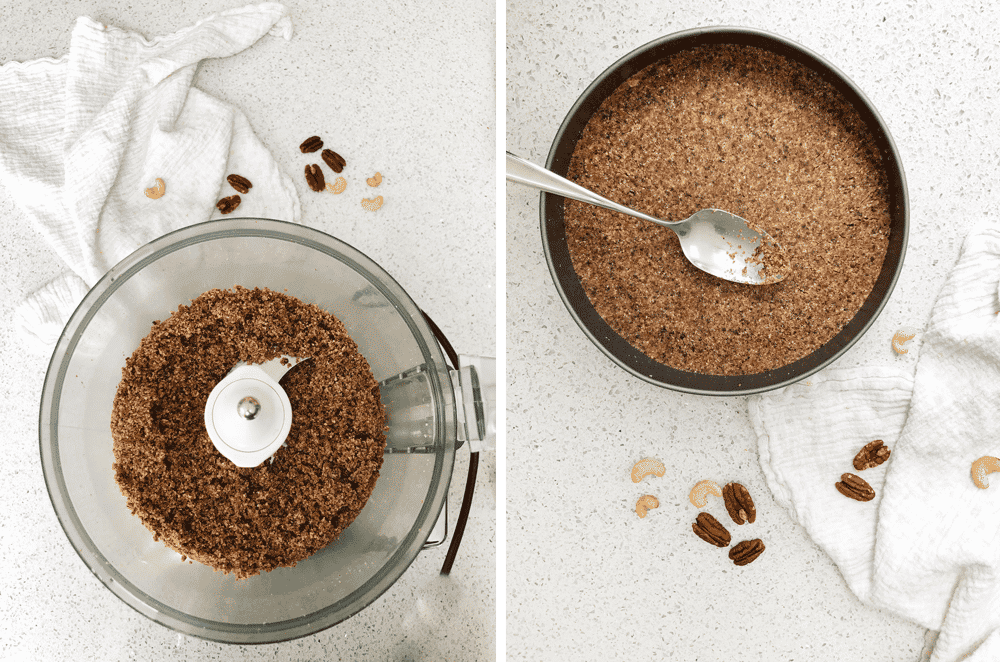
Base Layer
- 1/2 cup pecans
- 1/2 cup cashews
- 1.2 cup desiccated coconut
- 8 prunes, pitted
- 3 tbsp ground almonds
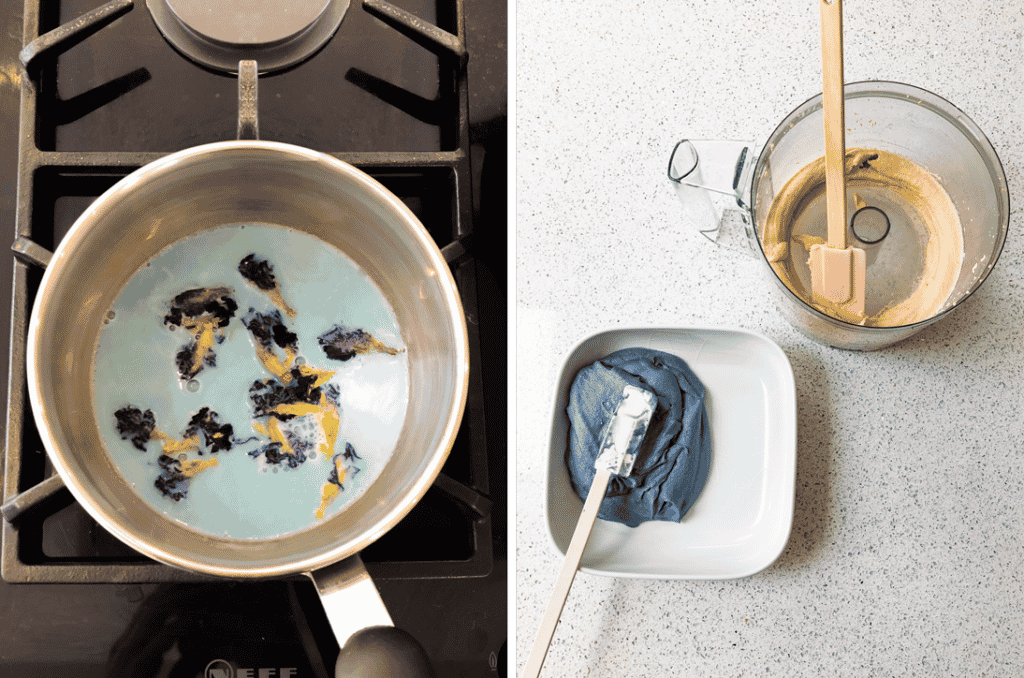
Cheesecake Layer
- 2 1/2 cups cups cashews (soaked 2-4 hours)
- 2 tins coconut cream ((refrigerated so you can easily scoop out the cream from the top))
- 1 1/4 cup cup maple syrup
- 1/2 cup almond milk
- 40-50 butterfly pea tea flowers
Base Layer
Blend the pecans, cashews & desiccated coconut in a food processor
Add the pitted prunes & ground almonds, and blend until you have an even consistency
Press the mixture into the tin using the back of a tablespoon, and place the tin in the fridge while you make the ‘cheesecake’ layer
Cheesecake Layer
Blend the soaked cashews in a food processor for a few minutes until you have a smooth texture – remember to stop every minute or so to scrape down the edges
Add 1 cup maple syrup & the coconut cream from 1 1/2 tins, and blend again until the mixture is combined
On a low heat, gently simmer the almond milk & butterfly pea tea flowers for 10 minutes. Take away from the heat and allow to cool for a few minutes, then squeeze the flowers to make sure you have got as much of the colour out as possible
Add the blue almond milk to the cashew mixture and blend again, then transfer the blue mixture to a bowl
For a mixed White & Blue Layer
Blend the remaining cashews, coconut cream & maple syrup, and once combined, transfer to another bowl.
Take the tin out of the fridge and spoon half the blue mixture onto the base layer.
Repeat with the white mix and top it off with the remaining blue.
Add extra flowers for decoration if you wish, and freeze for roughly 2 hours before serving.
If you don’t wish to eat it immediately, it’s best to store in the freezer and then take it out to thaw roughly 30 minutes before serving! Enjoy!!
Base Layer
Cheesecake Layer
You can choose to make the cheesecake layer completely blue or divide it up like I did. The beauty of having both blue and white mix is that you can get really creative with your cake design.

Amber’s Food Feed
This recipe was created by Amber Martin from AmbersFoodFeed. Check out her Instagram if you’re looking to get inspired by a real foodie or learn some creative and tasty recipes!


Teapro co-founder. Favourite tea - Long Jing Dragon Well Green Tea. Obsessed with film, photography and travelling.
-
Tatjanahttps://teapro.co.uk/author/user1/

-
Tatjanahttps://teapro.co.uk/author/user1/

-
Tatjanahttps://teapro.co.uk/author/user1/
-
Tatjanahttps://teapro.co.uk/author/user1/


Julia Tierney
Posted at 18:28h, 06 AugustOh my goodness. That’s an amazing recipe. Looks absolutely delicious!! Such pretty photos. Thank you amber. Let’s have more, please.